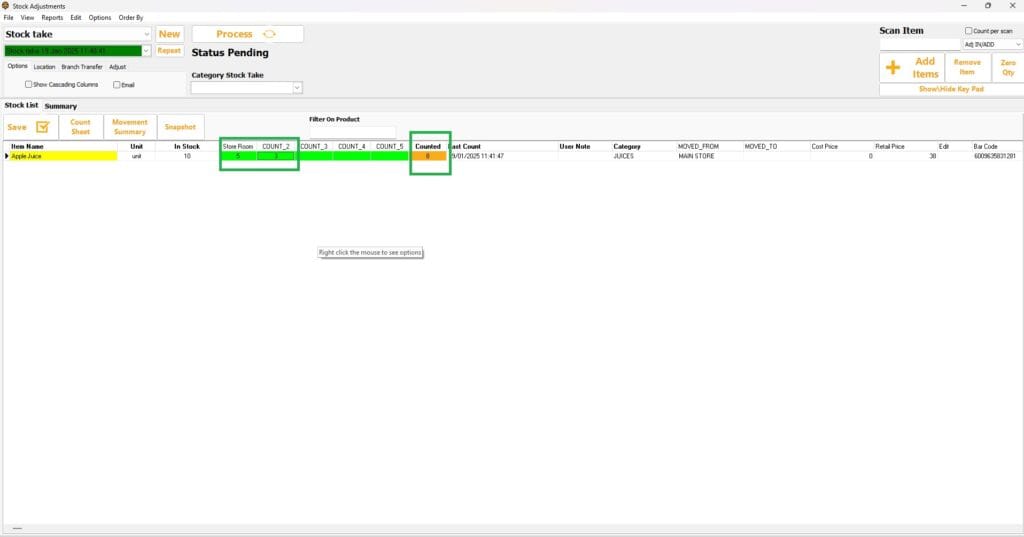
Sometimes you may have more than one location holding the same stock (e.g., a front store and a storeroom). The system allows you to add columns to your count sheet for better organization.
Follow these steps to activate this setting:
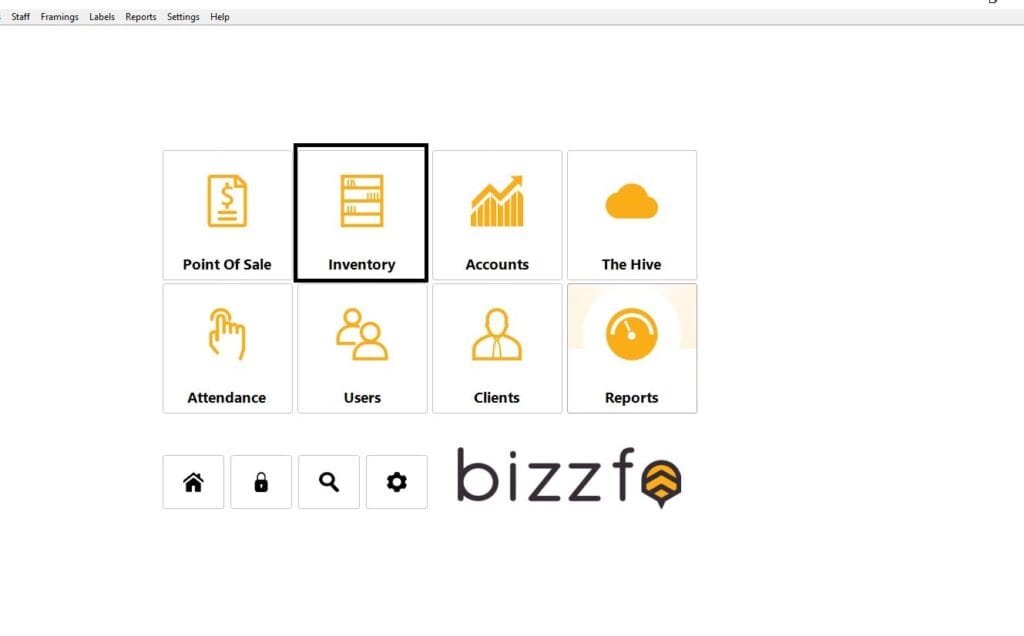
Step 1: Go to Inventory
- Navigate to the Inventory section.
Step 2: Access Stocktake
- Click on Stocktake.

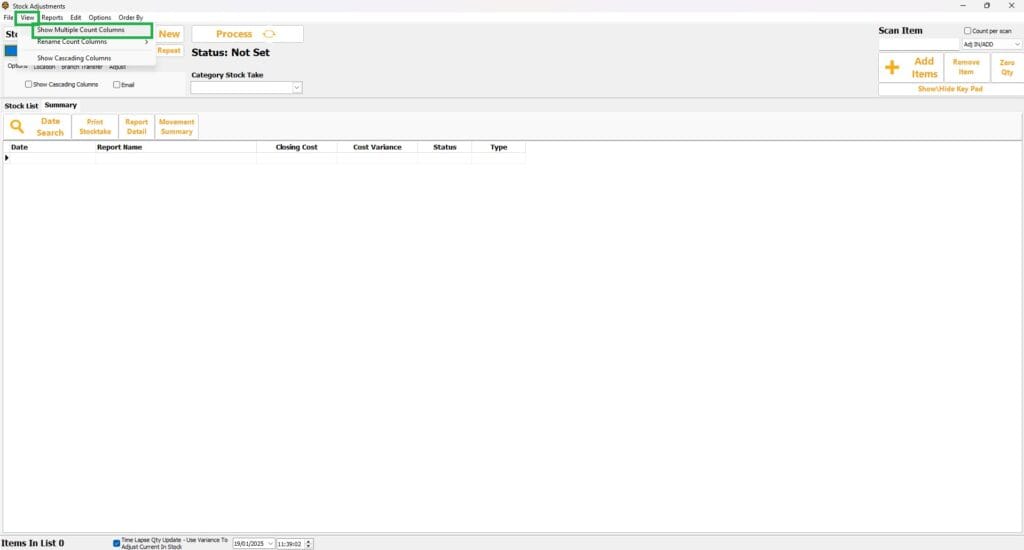
Step 3: Show Multiple Count Columns
- Click on View.
- Select Show Multiple Count Columns.
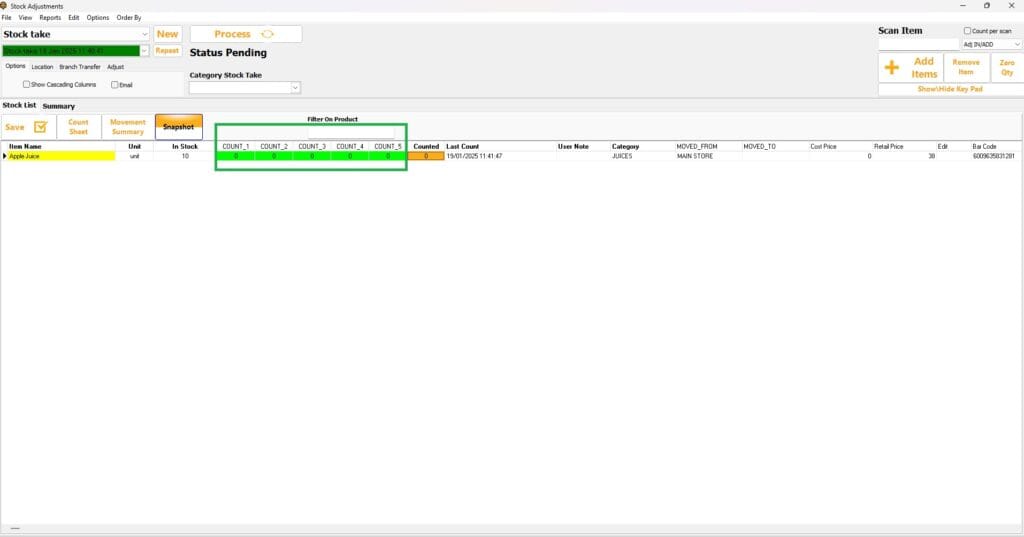
Step 4: Start a New Stock Count
- When you start a new stock count, additional count columns will appear.
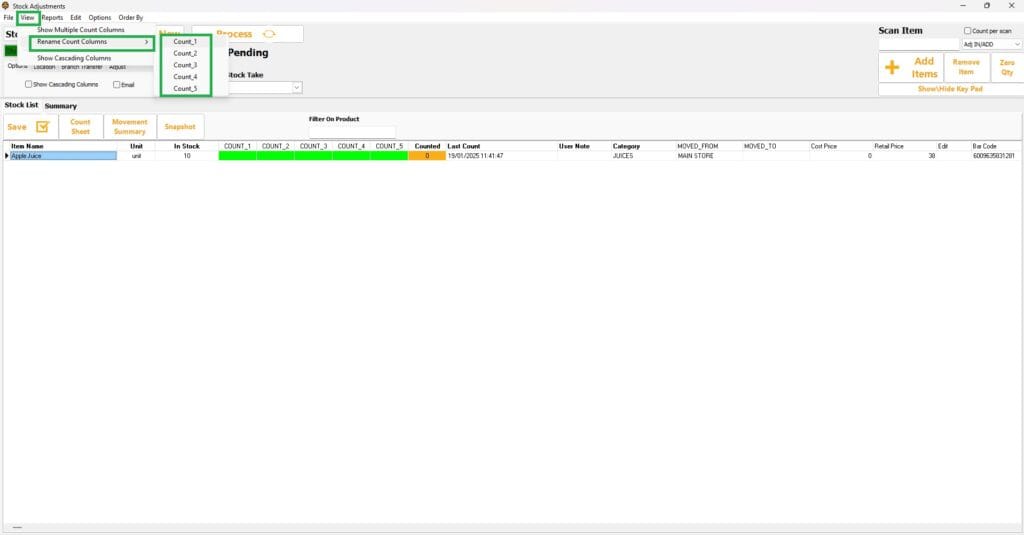
Step 5: Rename Count Column Names (Optional)
- Click on View.
- Select Rename Columns.
- Choose the column you want to rename and edit its name.
Step 6: Input Counted Quantities
- Fill in the counted quantities from different locations. The system will automatically sum them up in the Counted column.
Important Notes:
You do not need to fill in quantities for columns you do not use.
By setting up multiple columns, you can better track stock across multiple locations, making your inventory management more efficient.


