In the POS environment, we need to be able to link an inventory item to a button in order to sell that item. The first step to linking your item to your button is making sure that you have set up your Inventory Item. From you Back Office, Navigate to your inventory:
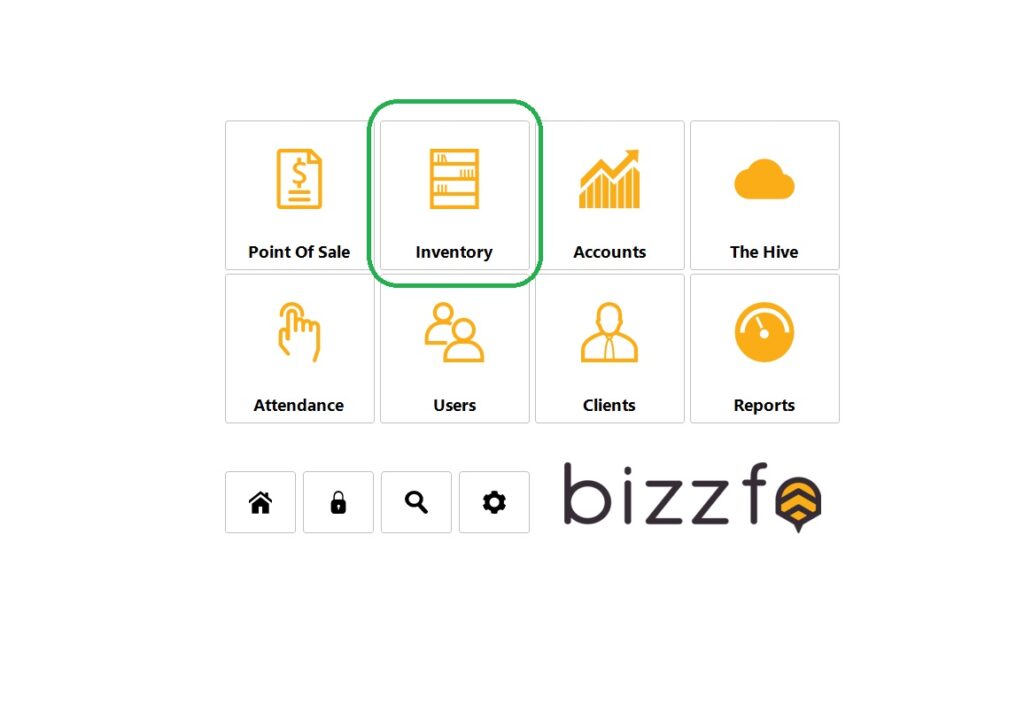
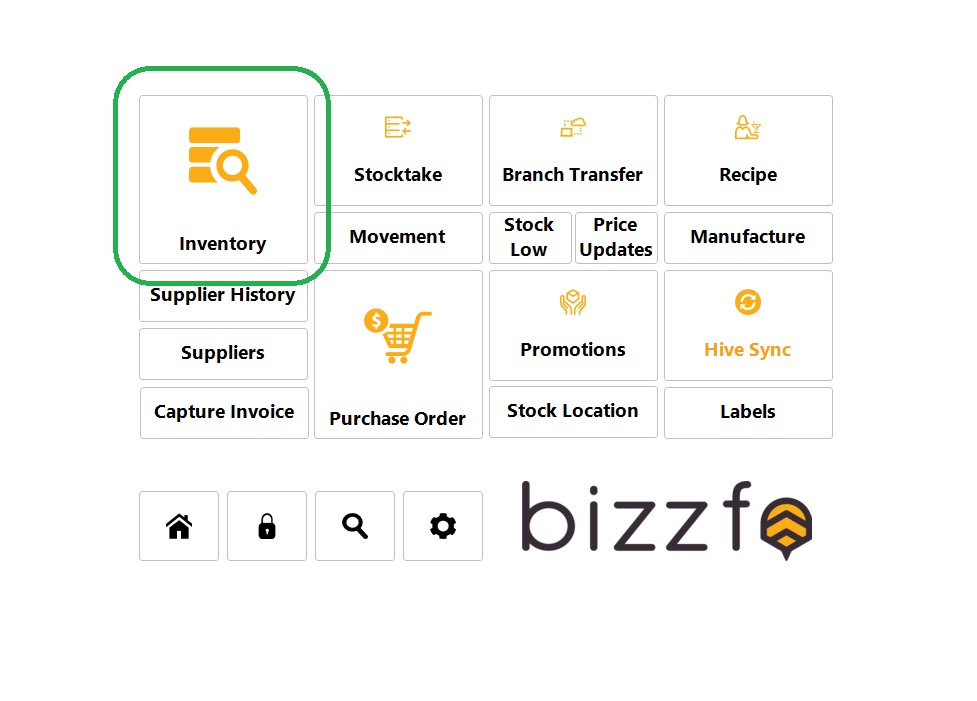
Now select your Inventory Module:
Ensure you have created your product you would like to link:
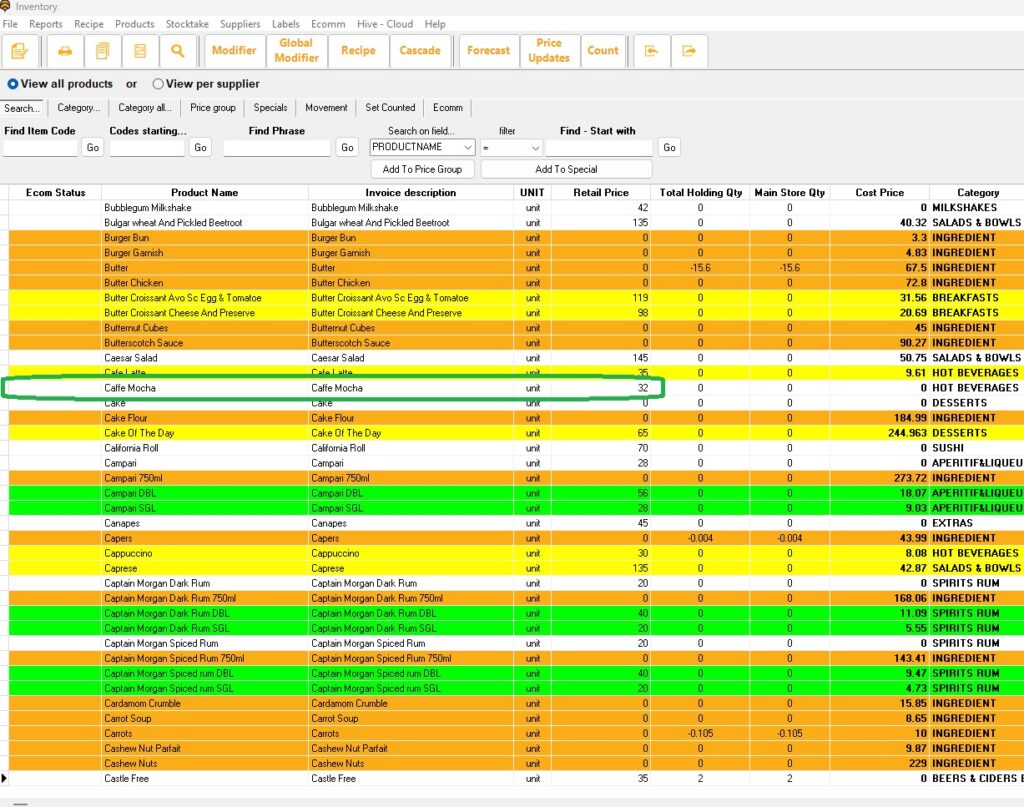
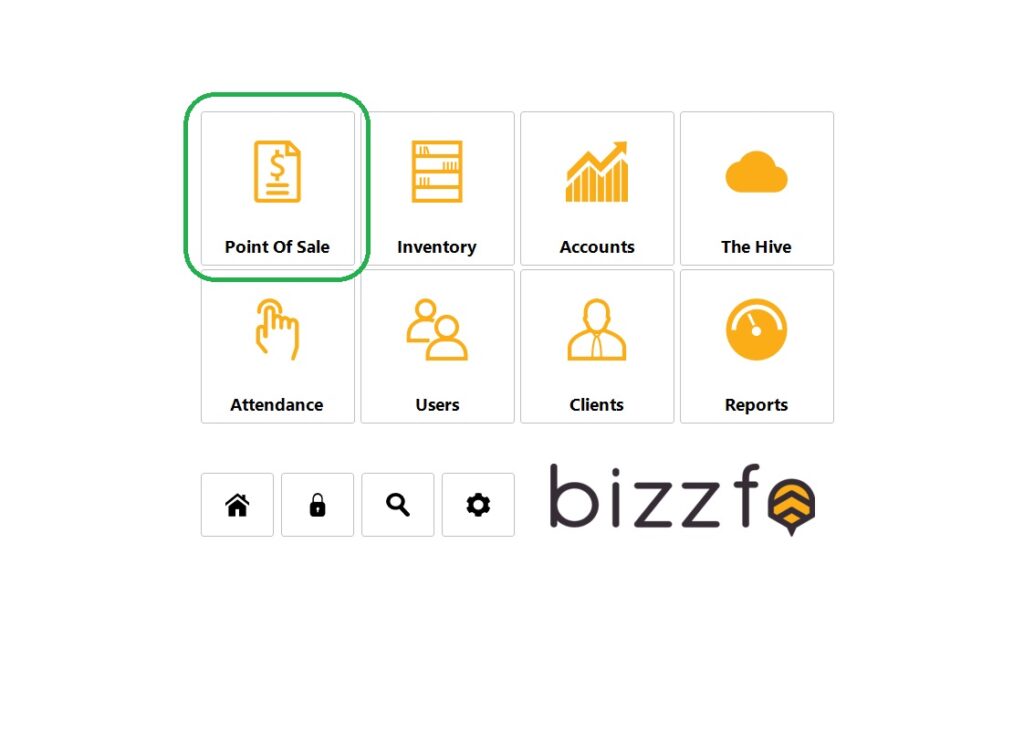
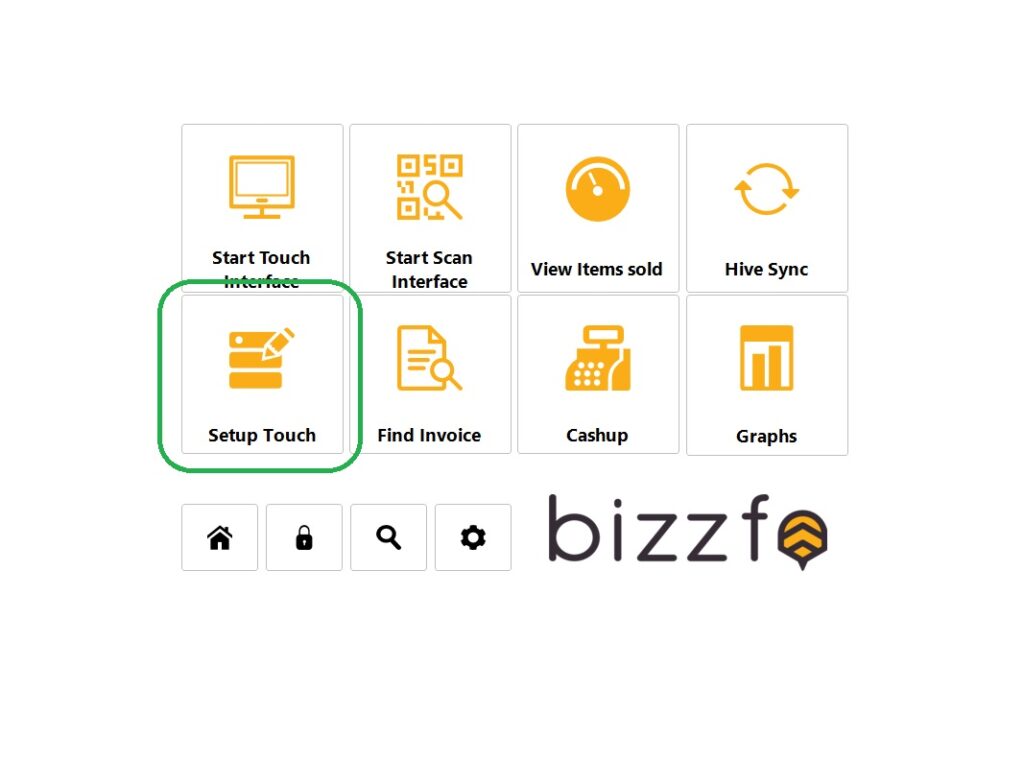
In this test case, we will be linking Caffe Mocha to a Button on the Sales Screen for our Waitrons to use. To get to the Button Editor, Navigate to your Home Page, Select Point Of Sale, then select “Touch Setup”:
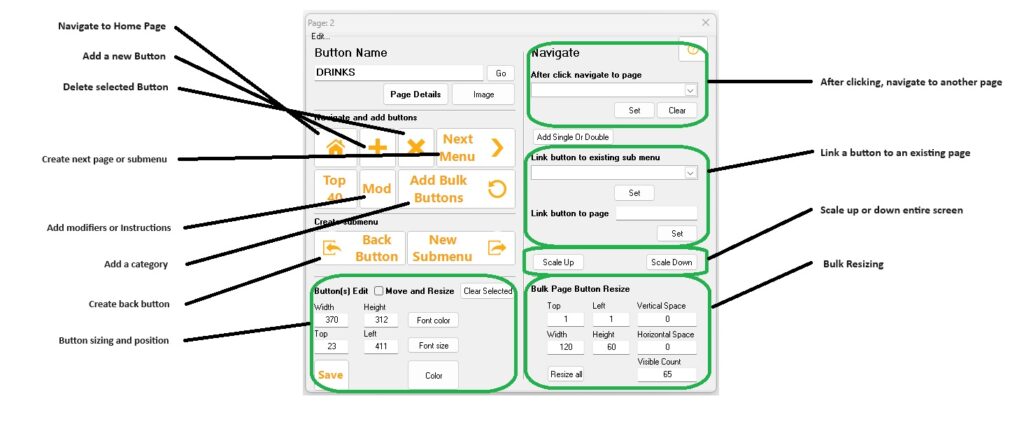
When opening your touch screen editor, you can click on a button to open the Edit Module. Let’s first understand our Editing Tool:
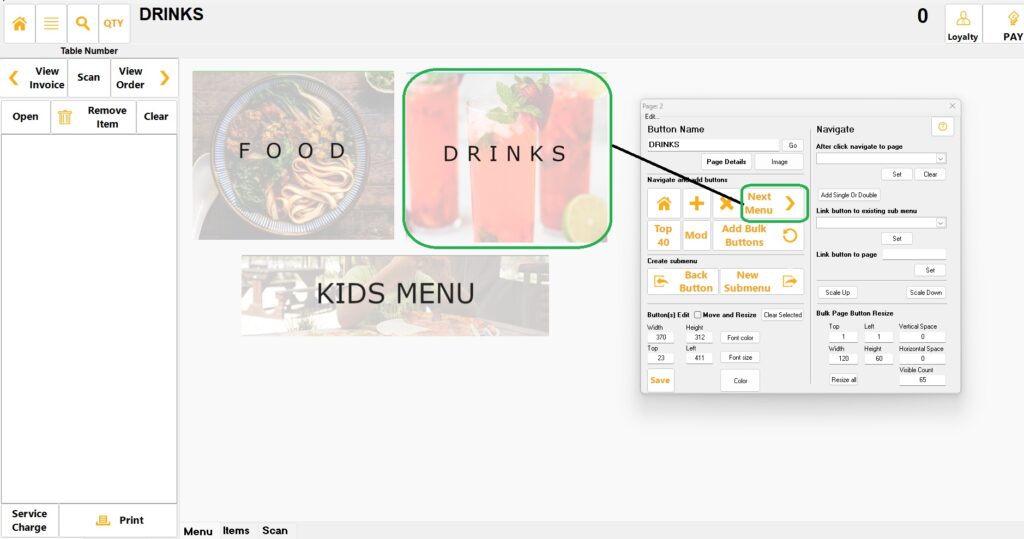
In the Touch Setup screen, the buttons are disabled for navigation and you will need to navigate with your Button Editor. Firstly, select a Button and click on “Next Menu” to navigate to that menu:
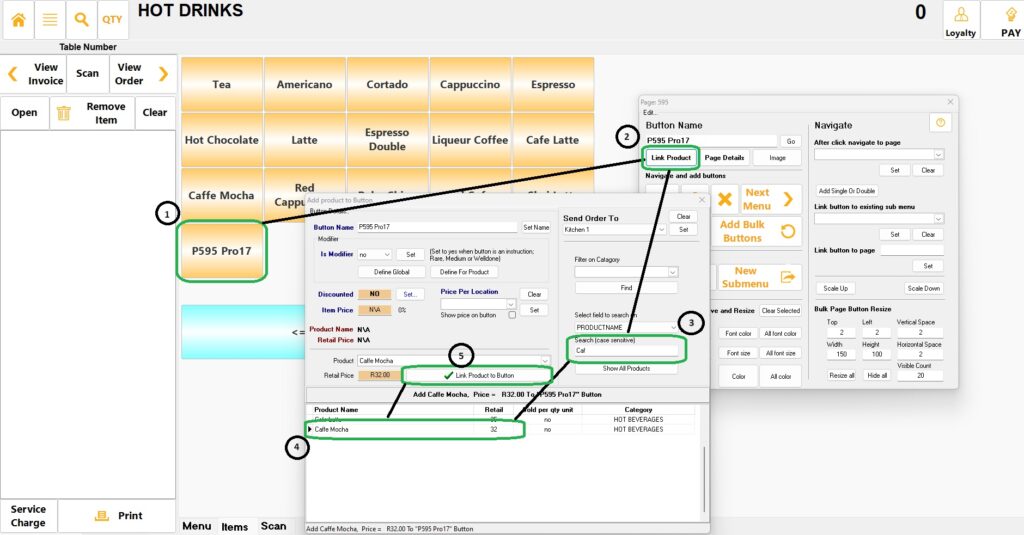
Once you have located where you would like to add the Button, select the “+” icon and select “Link Product”:
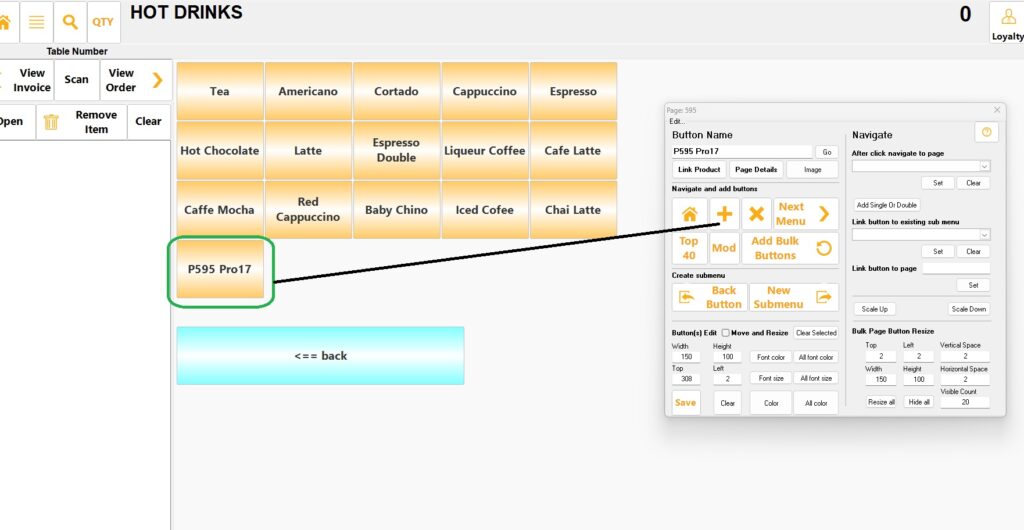
Now that we have created a new button, we need to link an Item to it. Select your button you have just made, click on “Link Product” and search for you inventory item you would like to link.
After you have linked you button, it is live on the front end. Well Done!


