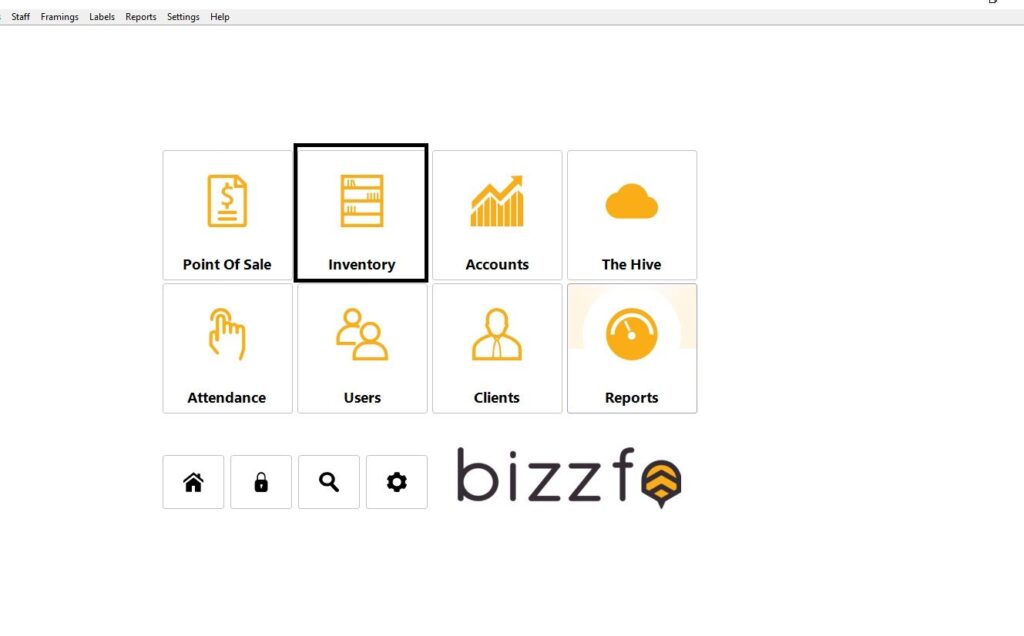
- On home screen please select Inventory
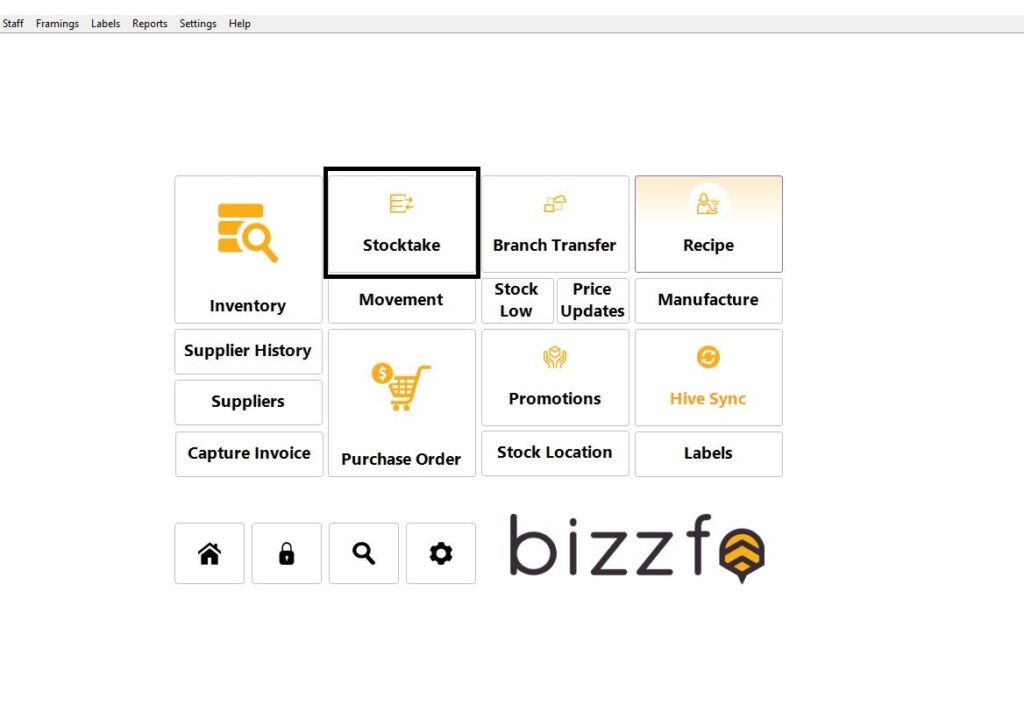
2. Select Inventory
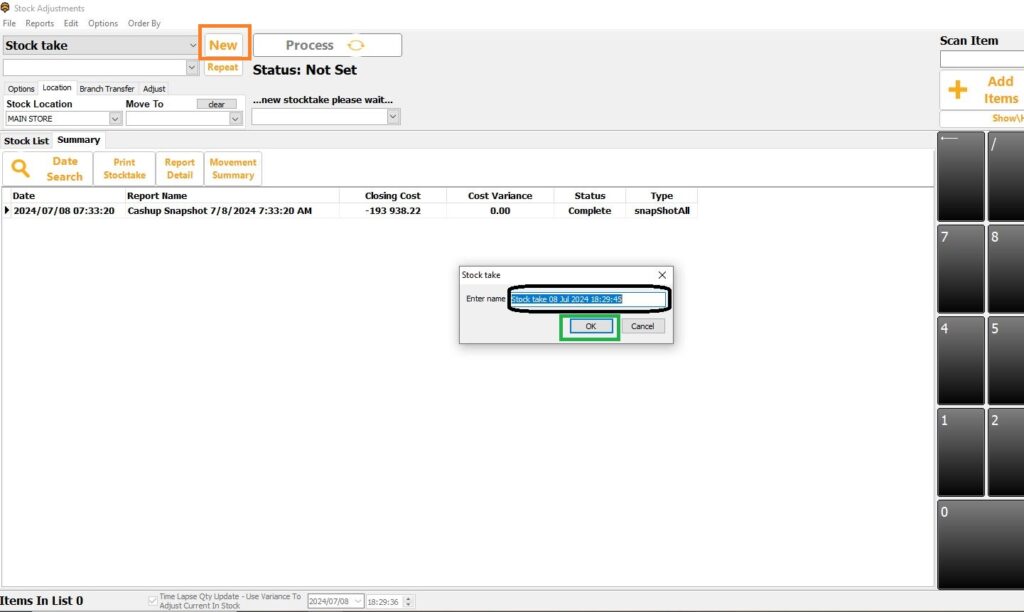
4. Create a new stock take by clicking on the NEW on top, then it will ask to name your stock take and click OK
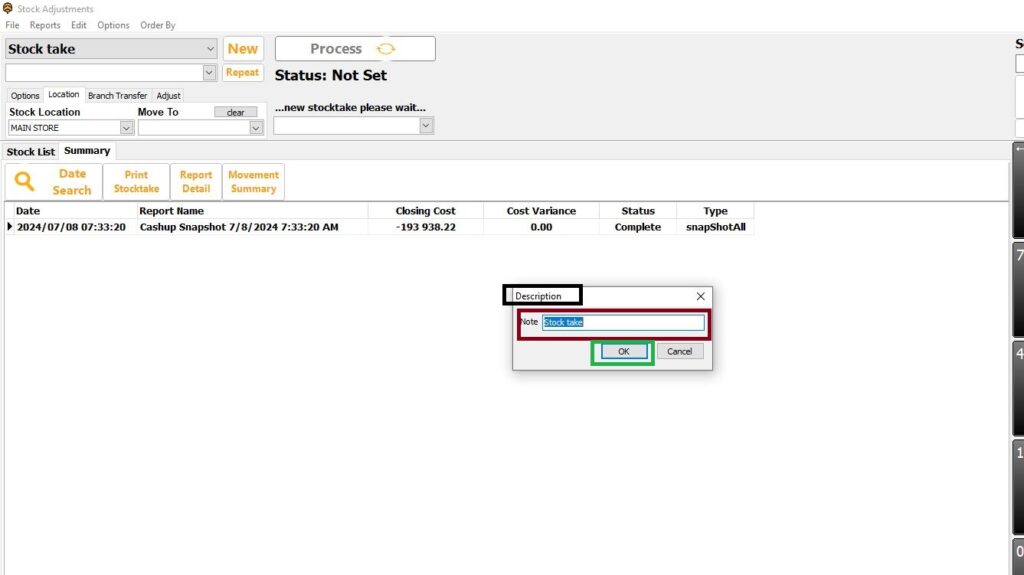
5. you can give your stock take a description and click OK
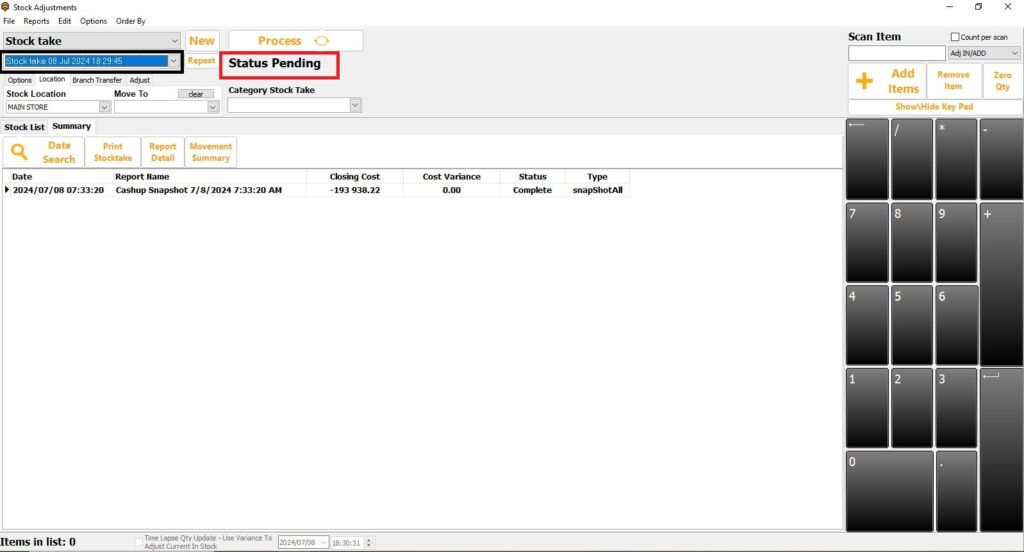
6. Now your NEW Stock take is created next steps is now to add your items or products to your stock take
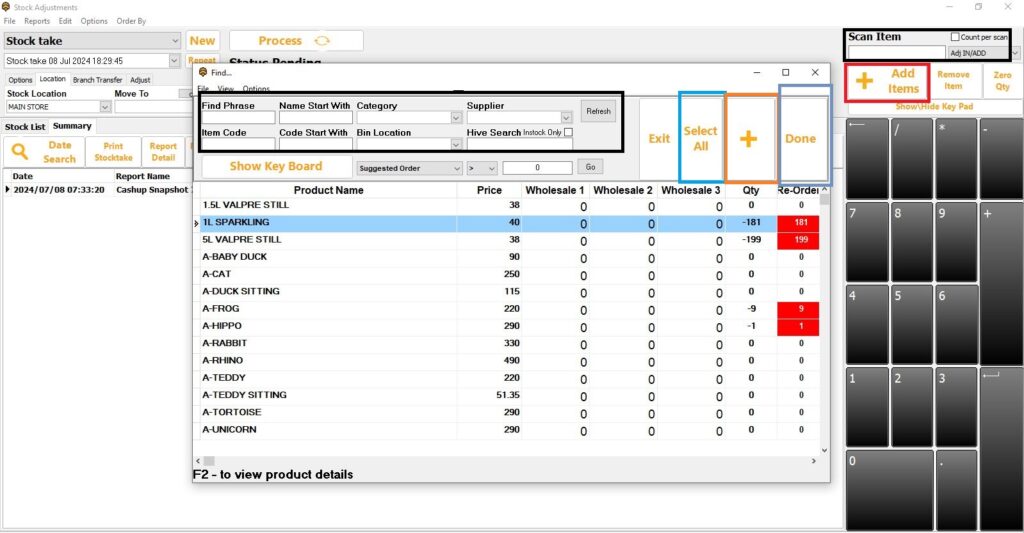
8. -First you will have to click on add items and this screen with you inventory will open
– now you can click the select all button mark in blue and will select the whole inventory on your stock take
– or your can filter by product or category by filter it in the box mark black
– once done selected your item or products click done and it will add to your stock take
– you can al so scan your item or product on to your stock take as well by clicking on right hand top corner count per scan and then you will able to scan
your item or products on to your stock take sheet
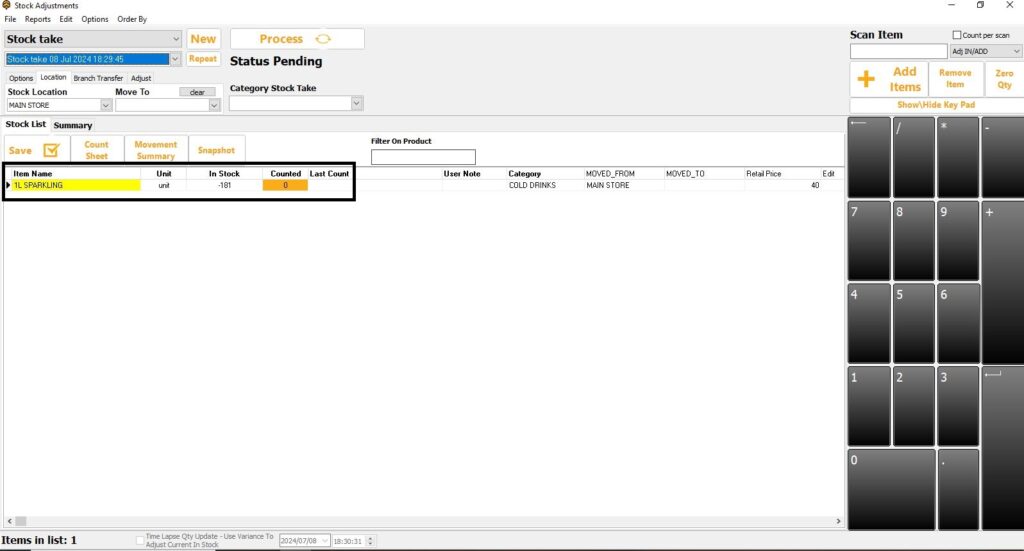
9. now your item or product is added
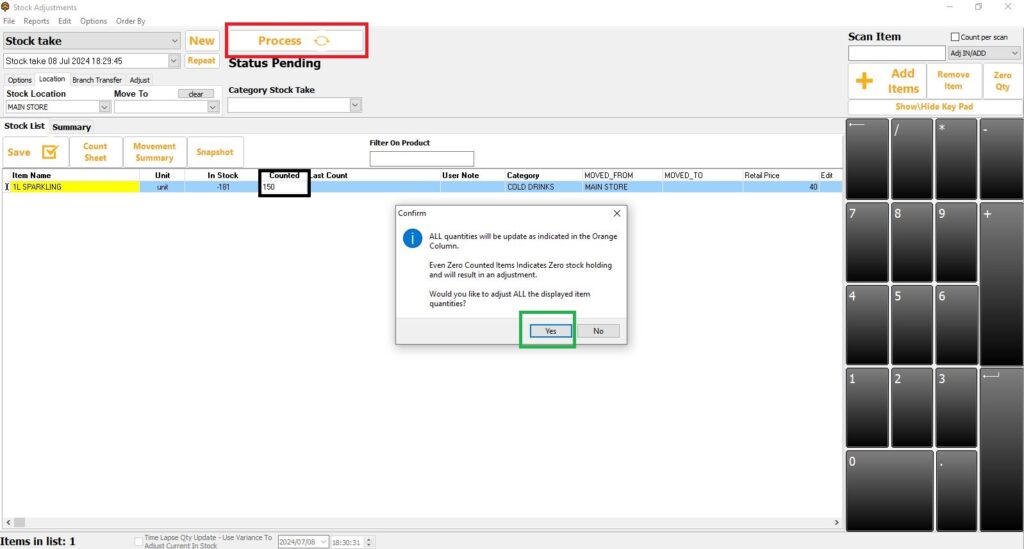
10. You can double on your count and adjust the QTY, once your done with your stock take you can click on Process this message will pop up click YES
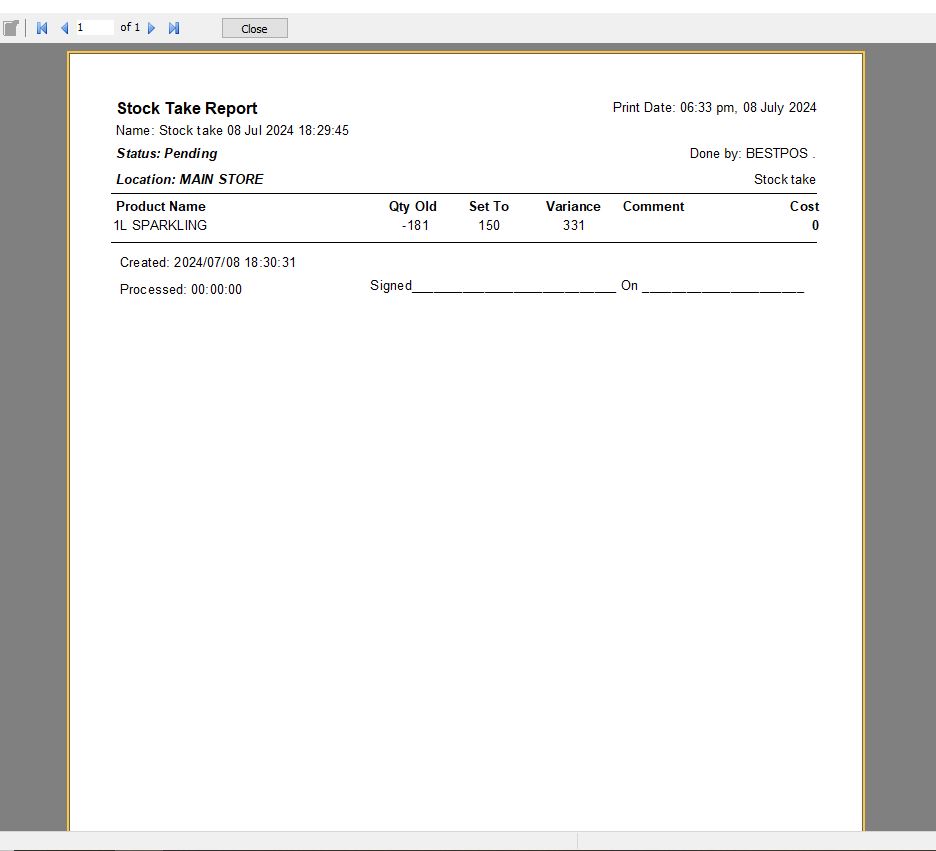
11. Just is your stock take report
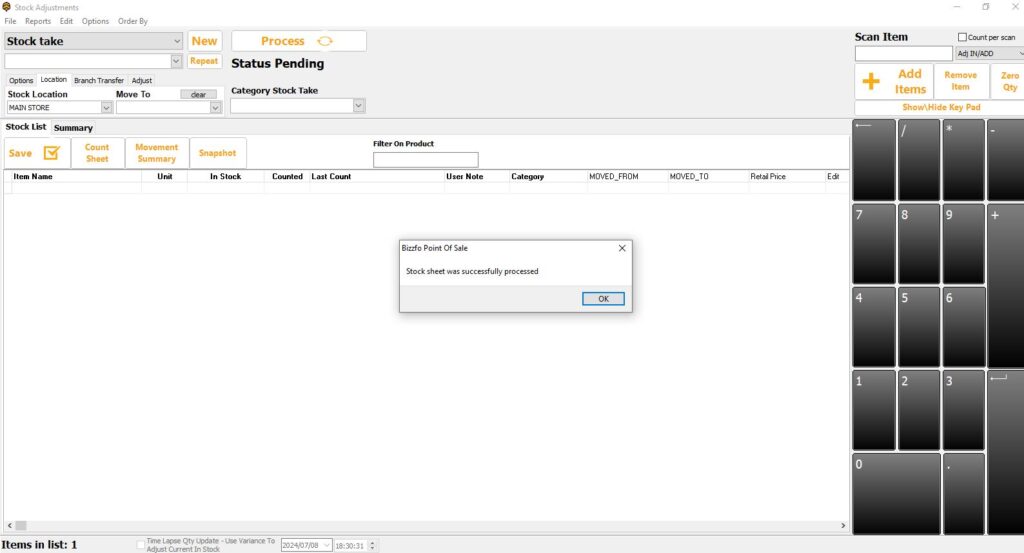
12. Stock sheet was successfully processed


- On home screen please select Point of Sale
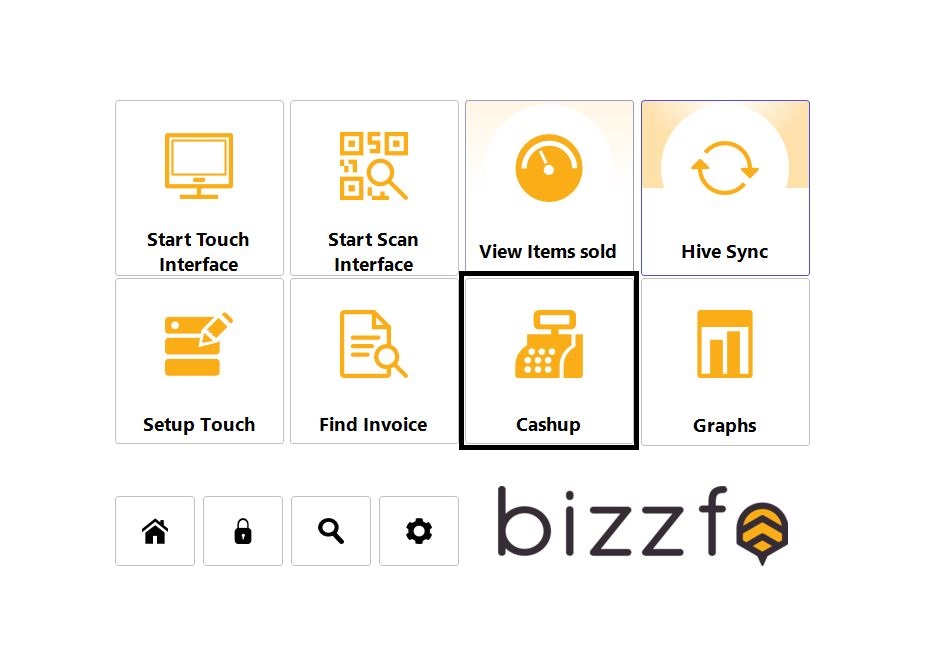
2. Select Cash up
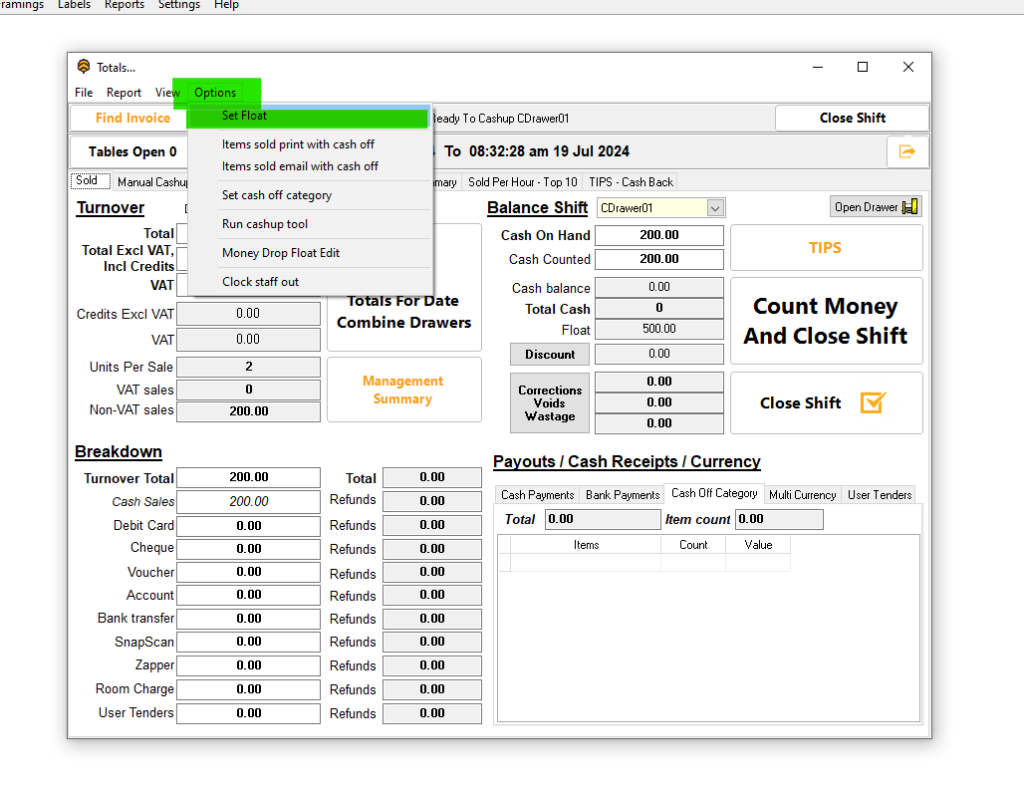
3. Under the Tab options select Set float
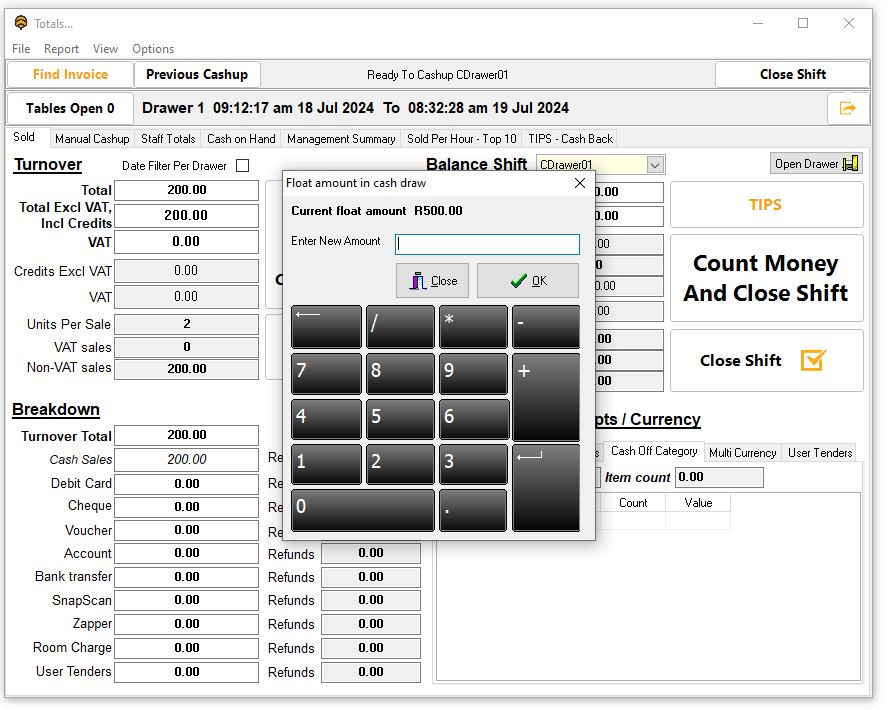
4. Enter your Float amount and click OK


